Manage your stake
Overview
After staking, you can always manage your stake: view its details, stake more, or claim your WARP bonuses.
Please note that you'll be able to unstake and claim your rewards only after the Warden Protocol and YieldWard go mainnet. The only exception is WARP bonuses.
View details and stake more
You can view the details of your stake and stake more at any moment:
-
Visit YieldWard.
-
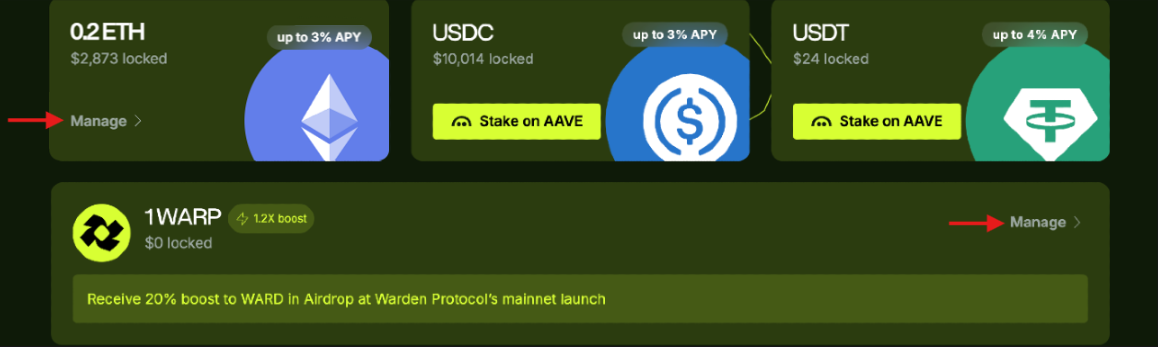
On the main page, click Manage on your staked currency.
-
You'll see the details of your stake. To stake more, click Stake More.
-
Approve the transaction in your wallet. Wait until it's confirmed and click Done.
When staking more, you can't change the Warden address for receiving rewards. However, you can specify another Warden address when staking another asset.
Claim WARP bonuses
For staking each of the Ethereum Mainnet assets, you receive boosted % yield (APY) in WARP tokens on the Base Mainnet.
You can start claiming bonuses when the earned amount is above 100 WARPs. Please note that you can claim only all WARP at once.
-
Visit YieldWard.
-
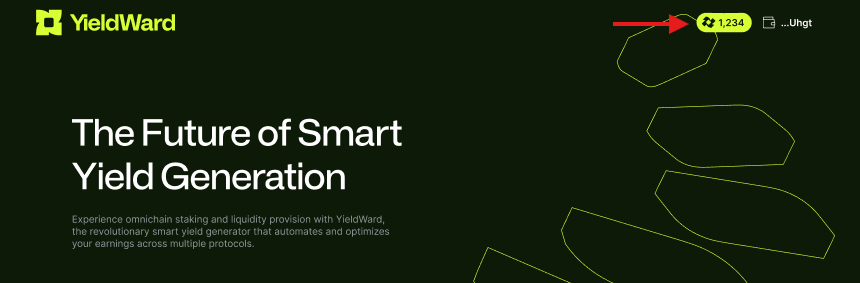
In the top-right corner of the main page, click the WARP icon.
-
You'll see the total amount of WARP earned for all stakes. Click Claim WARP.
-
Approve the transaction in your wallet. Wait until it's confirmed.
-
If you wish to stake your WARP on the Base Mainnet, click Stake. Otherwise, click Done.
Staking your WARP bonus will allow you to get WARD from the 1:1.2 airdrop on the Warden Protocol mainnet launch. Until then, your WARP will be locked.
If you don't stake WARP immediately, you can do it later, as shown in Stake WARP.